Node.js - How to Integrate Travis CI with GitHub
Travis CI is service for Continuous Integration and it is easy to integrate with the projects on GitHub. It support many programming languages. Travis CI will run unit tests after the project update and report the results. This article will introduce how to integrate node.js projects.
Enable Travis CI for GitHub project
You can sign in with GItHub account and find your projects on GitHub. Go to the Accounts page on the top-right side.
Click the toggle to enable.
.travis.yml
Add .travis.yml file to your project root. It describe that how to run the CI flow and environment. It bases on your programming language.
You can find the build lifecycle on the doc. Of course, it will git clone your project and checkout specific version at first.
before_installinstallbefore_scriptscriptafter_successorafter_failureafter_script- OPTIONAL
before_deploy - OPTIONAL
deploy - OPTIONAL
after_deploy
In Node.js language, the install step run following command in default:
1 | npm install |
And script step is:
1 | npm test |
You can overwrite them. An example of travis.yml in node.js:
1 | language: node_js |
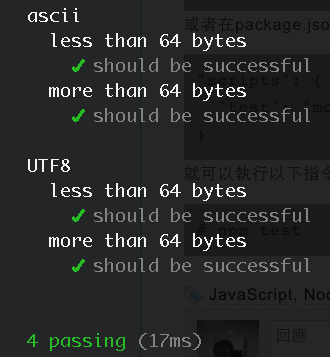
Write Unit Tests
Write unit test and make sure it can run by npm test. Please refer to How to Write a Library for Node.js and Browser with Mocha Unit Tests.
Badge
You can add the badge in the README.md to show the build result.
1 | [](https://travis-ci.org/emn178/js-md5) |
You will see

URL format is
1 | https://travis-ci.org/YOUR_ACCOUNT/PROJECT_NAME |
Update Project
Now, it will trigger build flow after you update your project. You can check the result by badge or go to Travis CI web site.
Further Reading
How to Write a Library for Node.js and Browser with Mocha Unit Tests
How to Measure JavaScript Code Coverage With jscoverage